Dental implant anatomy
Dental implants have become a widely accepted and effective solution for replacing missing teeth. Understanding the anatomy of dental implants can help you appreciate their function and the role each component plays in ensuring a successful outcome. Let’s delve into the detailed anatomy of dental implants, from the visible parts to the ones beneath the surface.
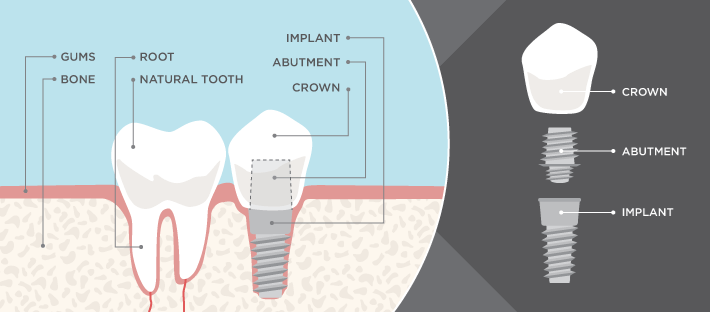
Overview of Dental Implant Anatomy
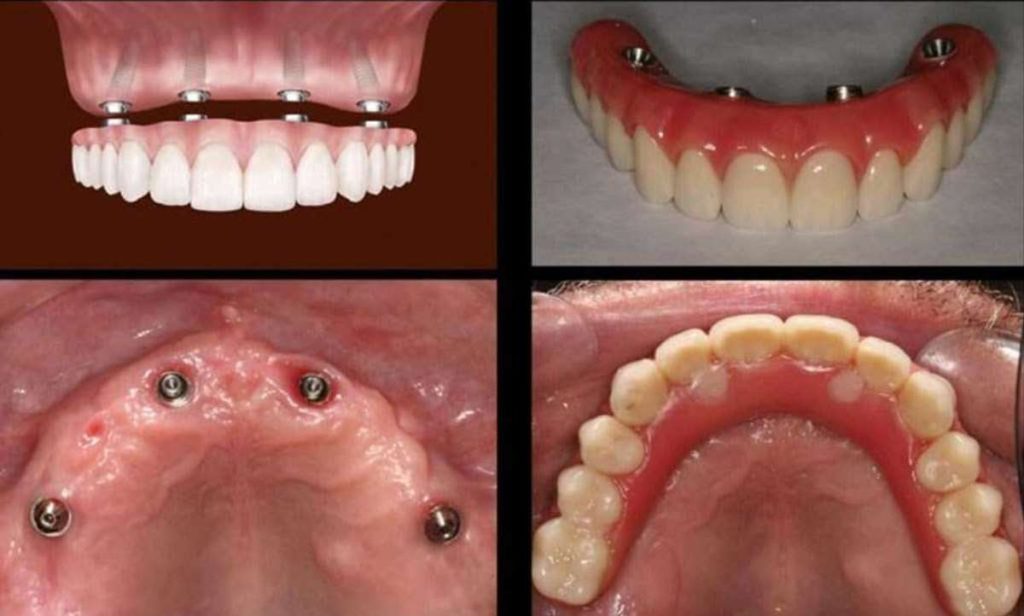
A dental implant system consists of several key components:
- Implant Fixture (Implant Post): The part that is surgically placed into the jawbone.
- Abutment: The connector piece that joins the implant fixture to the crown.
- Crown: The visible part of the implant that looks like a natural tooth.
Each component plays a critical role in the stability, functionality, and aesthetics of the dental implant.
Implant Fixture (Implant Post)
The implant fixture, also known as the implant post or root, is the foundation of the dental implant system. It is typically made of titanium or a titanium alloy, materials chosen for their biocompatibility and strength.
Features of the Implant Fixture
- Shape and Design: Implant fixtures are usually cylindrical or tapered to mimic the shape of a natural tooth root. They may have threads to enhance stability and promote osseointegration.
- Surface Texture: The surface of the implant fixture may be roughened or coated to improve the bonding with the bone. Techniques like plasma spraying, acid etching, and sandblasting are used to enhance osseointegration.
- Length and Diameter: Implant fixtures come in various lengths and diameters to accommodate different bone densities and anatomical considerations. Your dentist will choose the appropriate size based on your specific needs.
Osseointegration
Osseointegration is the process by which the implant fixture fuses with the jawbone. This biological bonding provides a stable and durable foundation for the implant. Osseointegration typically takes several months and is crucial for the long-term success of the dental implant.
Abutment
The abutment is the intermediate component connecting the implant fixture to the crown. Depending on the aesthetic and functional requirements, it can be made of titanium, gold, or zirconia.
Types of Abutments
- Standard Abutments: These are prefabricated abutments in various shapes and sizes. They are suitable for most implant cases and are typically more cost-effective.
- Custom Abutments: These are custom-made to fit the unique contours of the patient’s mouth and provide optimal aesthetics. They are often used in visible areas like the front teeth.
Functions of the Abutment
- Connection: Provides a secure connection between the implant fixture and the crown.
- Support: Offers structural support for the crown, ensuring it can withstand the forces of biting and chewing.
- Aesthetics: In cases where aesthetics are a priority, the abutment can be customized to ensure a natural appearance.
Crown
The crown is the visible part of the dental implant that looks and functions like a natural tooth. It is custom-made to match the surrounding teeth’ color, shape, and size.
Materials for Crowns
- Porcelain: Provides the most natural appearance and is often used for front teeth.
- Ceramic: Also offers a natural look and is suitable for those with metal allergies.
- Porcelain-Fused-to-Metal (PFM): Combines the strength of metal with the aesthetics of porcelain, making it suitable for both front and back teeth.
- Gold: While less common, gold crowns are durable and biocompatible, often used for molars where aesthetics are less critical.
Attachment of the Crown
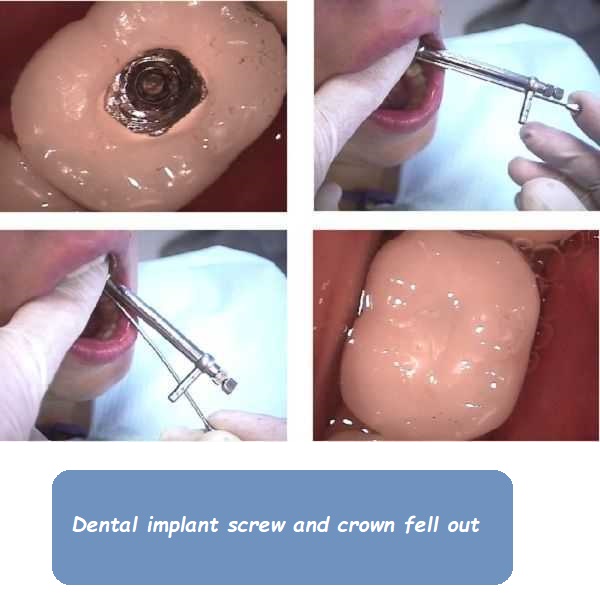
The crown is either cemented or screwed onto the abutment. Each method has its advantages:
- Cemented Crowns: Provide a more natural appearance as there are no visible screw holes. However, they can be more challenging to remove if adjustments are needed.
- Screw-Retained Crowns: Easier to remove for maintenance or adjustments, but the screw access hole may be visible.
Additional Components
While the implant fixture, abutment, and crown are the primary components, several additional elements play a role in the dental implant system:
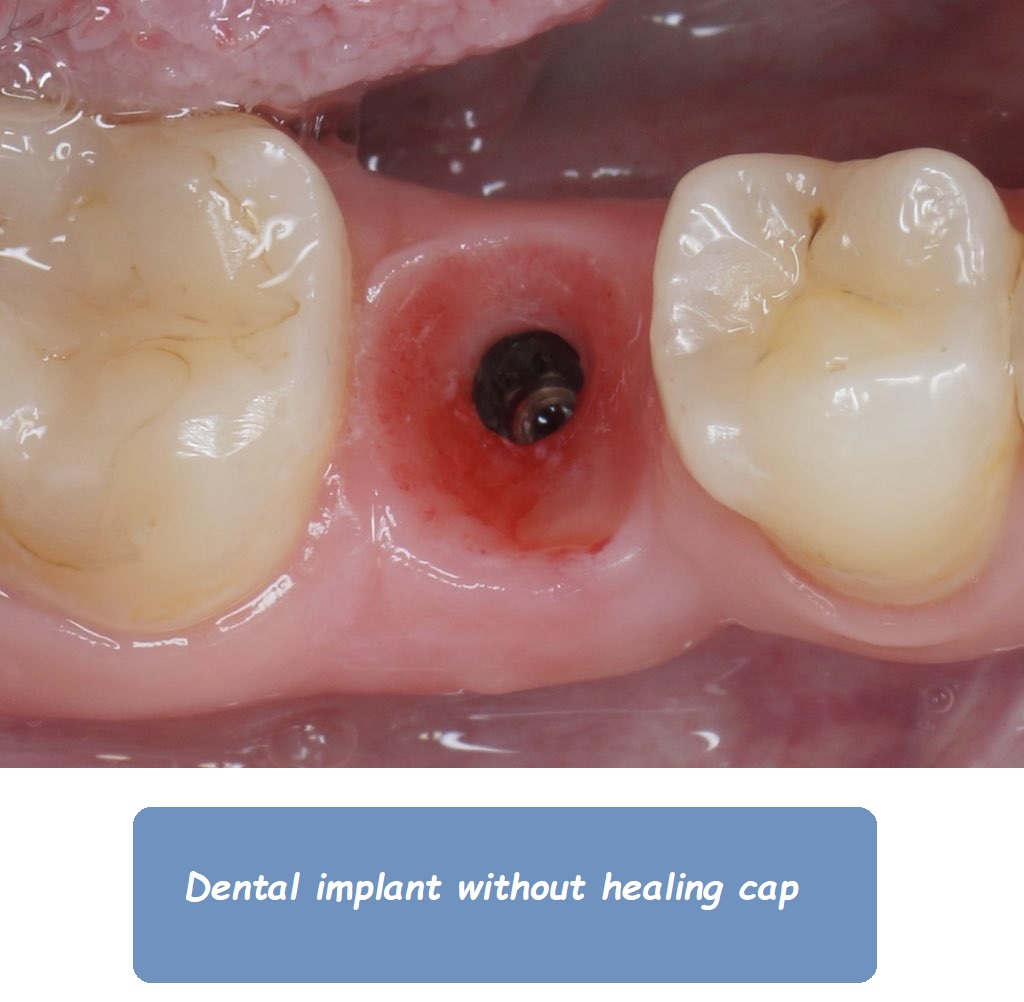
Healing Cap
A healing cap, also known as a healing abutment, is placed on the implant fixture after surgery. It helps shape the gum tissue and protects the implant during healing. Once healing is complete, the healing cap is removed, and the permanent abutment and crown are placed.
Cover Screw
A cover screw is used to seal the top of the implant fixture during the initial healing period. It prevents debris and tissue from entering the implant site and is removed when the healing abutment or final abutment is placed.
Impression Coping
Impression coping is used during the impression-taking process to capture the position and orientation of the implant accurately. This ensures that the custom crown fits perfectly on the implant.
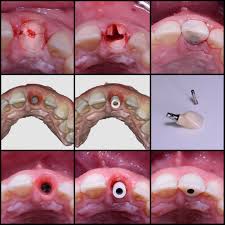
The Implant Placement Procedure
Understanding the anatomy of dental implants is essential, but it’s also important to know the steps involved in placing them. Here’s a brief overview of the implant placement procedure:
1. Initial Consultation
Your dentist will evaluate your oral health, take X-rays, and possibly a 3D scan to assess your bone structure and determine if you’re a suitable candidate for implants.
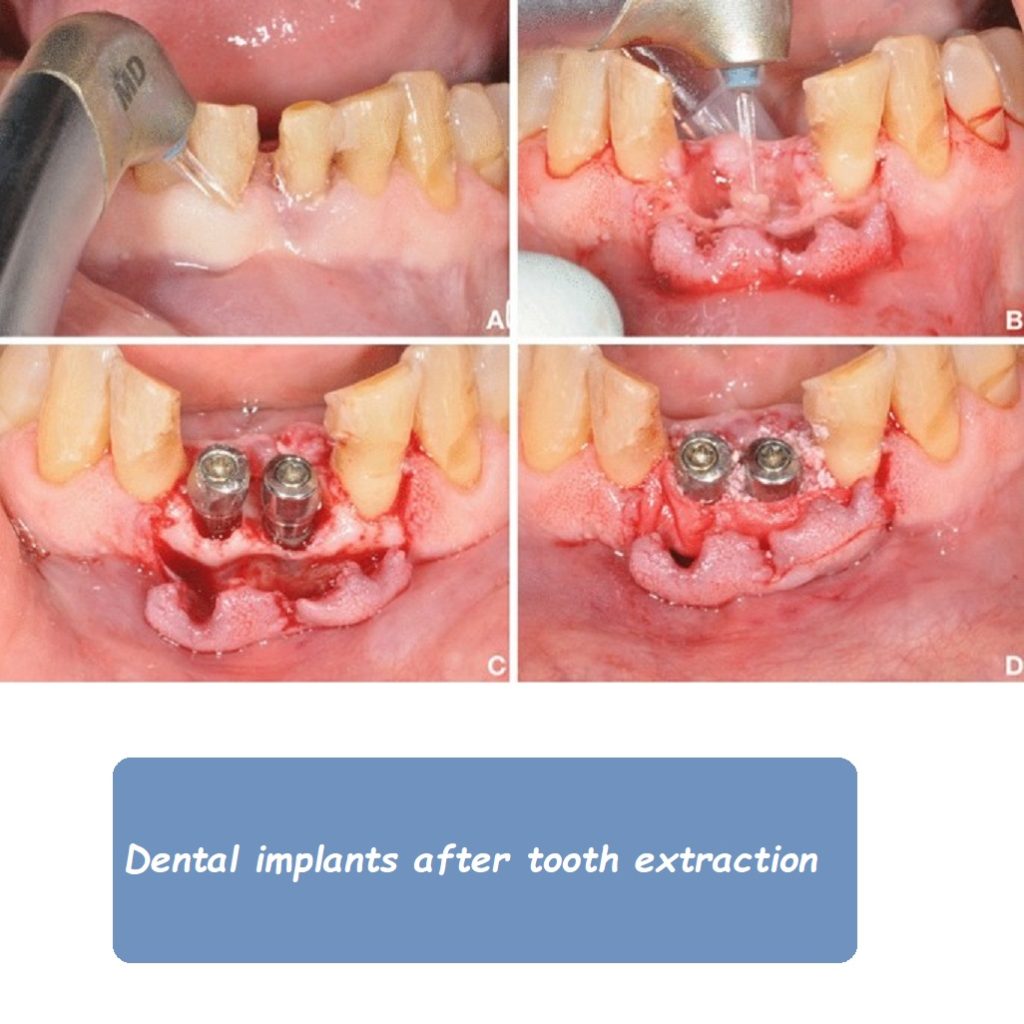
2. Preparatory Procedures
If necessary, preparatory procedures like tooth extraction or bone grafting are performed to prepare the implant site.
3. Implant Placement
Under local anesthesia, the dentist incurs the gum to expose the bone, drills a hole, and places the implant fixture into the jawbone. A cover screw or healing cap is placed, and the gum is stitched back over the implant.
4. Osseointegration
The implant site is allowed to heal for several months while osseointegration occurs. During this time, the implant fixture fuses with the jawbone.
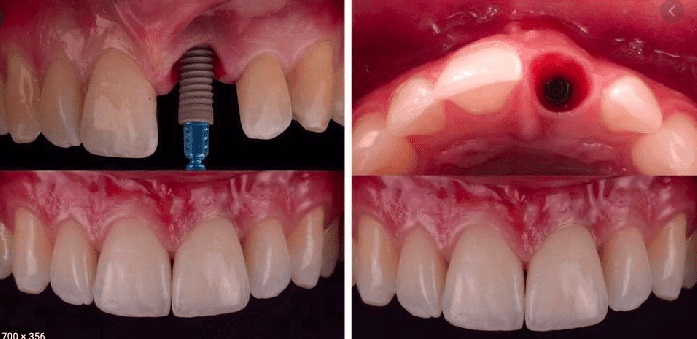
5. Abutment Placement
Once osseointegration is complete, the dentist places the abutment on the implant fixture. A temporary crown may be attached while the permanent crown is being made.
6. Crown Placement
The permanent crown is attached after the gum tissue has healed around the abutment. The dentist makes final adjustments to ensure a perfect fit and natural appearance.
Maintenance and Care
Proper maintenance and care are crucial for the longevity and success of dental implants:
- Oral Hygiene: Brush and floss regularly to keep the implant site clean and plaque-free.
- Regular Check-Ups: Visit your dentist for regular check-ups and professional cleanings.
- Avoid Hard Foods: Avoid hard or sticky foods that can damage the crown or implant.
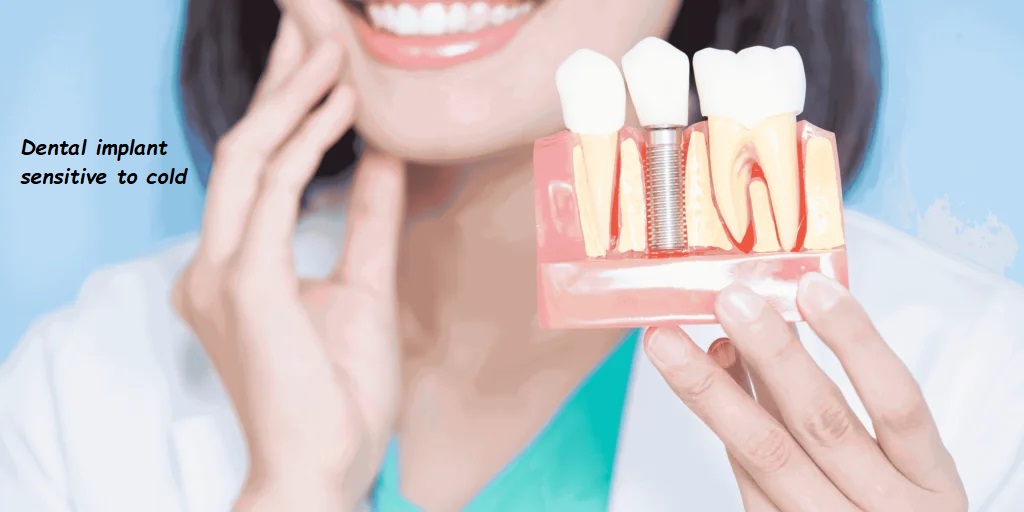
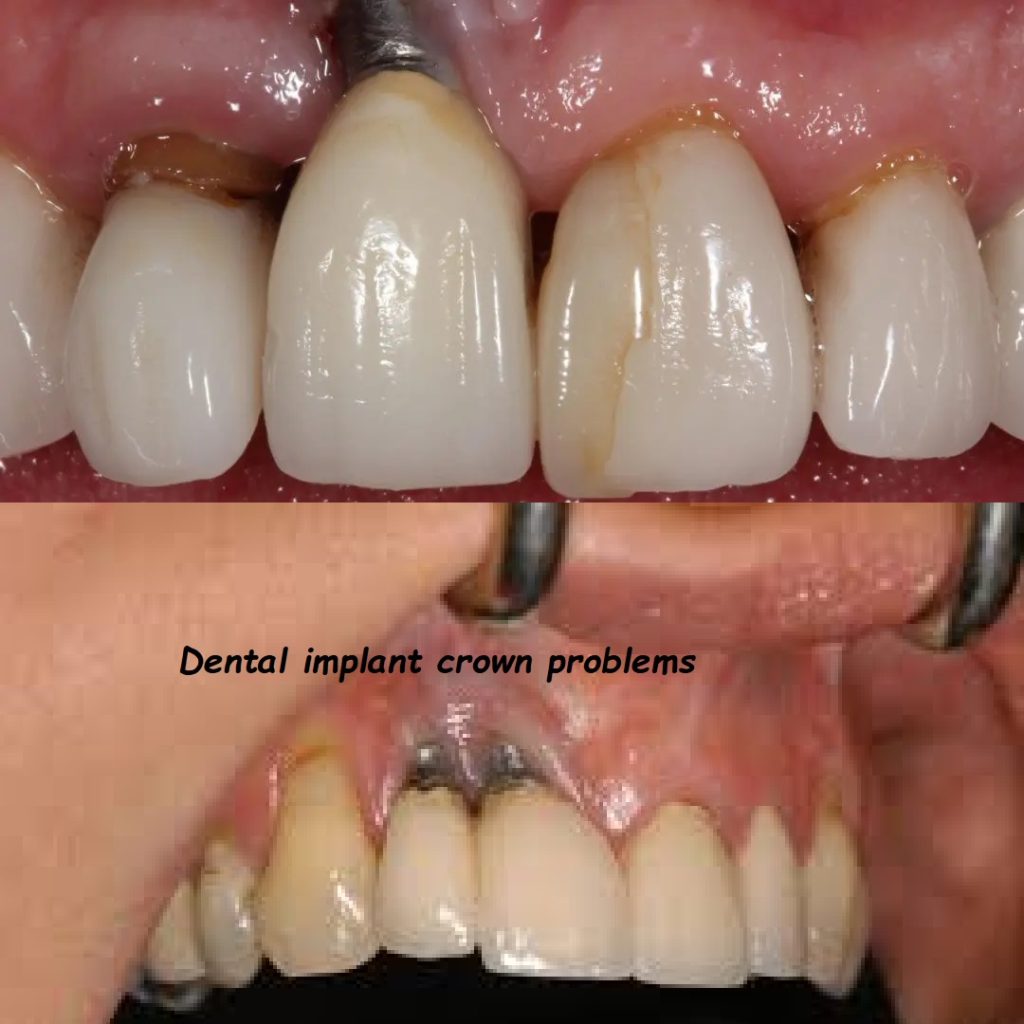
Potential Complications
While dental implants have a high success rate, there are potential complications to be aware of:
Peri-Implantitis
An inflammatory condition similar to gum disease affects the tissues around the implant; if not treated, it can lead to bone loss and implant failure.
Implant Failure
In rare cases, the implant may fail to integrate with the bone. This can be due to insufficient bone density, infection, or other health issues.
Nerve Damage
Placing the implant too close to a nerve can cause nerve damage, leading to pain, numbness, or tingling in the gums, lips, or chin.
Sinus Issues
For implants placed in the upper jaw, there’s a risk of the implant protruding into the sinus cavity, causing sinus problems.
Conclusion
Understanding the anatomy of dental implants can help you appreciate the complexity and precision involved in this transformative dental procedure. Each component plays a vital role in ensuring the stability, functionality, and aesthetics of the implant. If you’re considering dental implants, consult a qualified dentist or oral surgeon to discuss your options and develop a personalized treatment plan. With proper care and maintenance, dental implants can provide a durable and natural-looking solution for missing teeth, restoring your smile and confidence.
Do you have more questions about dental implant anatomy or the procedure itself? Let’s discuss this further to ensure you have all the information you need for a successful dental implant experience!
Related to read:
Best Oral Hygiene Practices For Optimum Oral Health.
How to Whiten Teeth Naturally?
How to keep your gums healthy and disease-free?
References
To ensure the information provided is accurate and up-to-date, the following sources were referenced:
- American Dental Association. (n.d.). Plaque and Tartar. Retrieved from ADA website
- Mayo Clinic. (n.d.). Dental Plaque. Retrieved from Mayo Clinic website
- National Institute of Dental and Craniofacial Research. (n.d.). Periodontal (Gum) Disease. Retrieved from NIDCR website