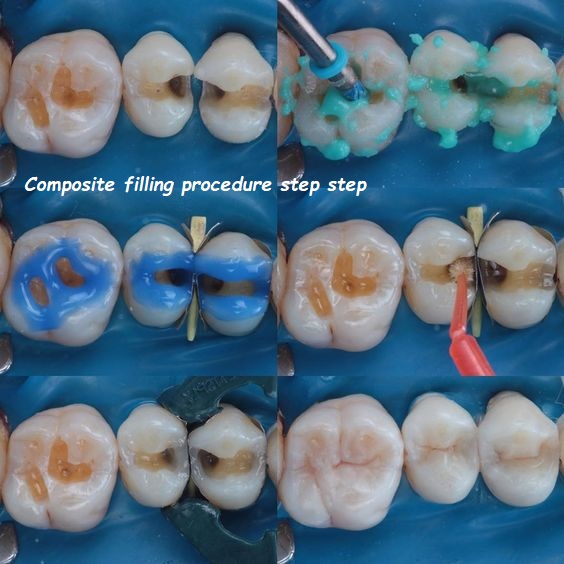
Composite filling procedure step step
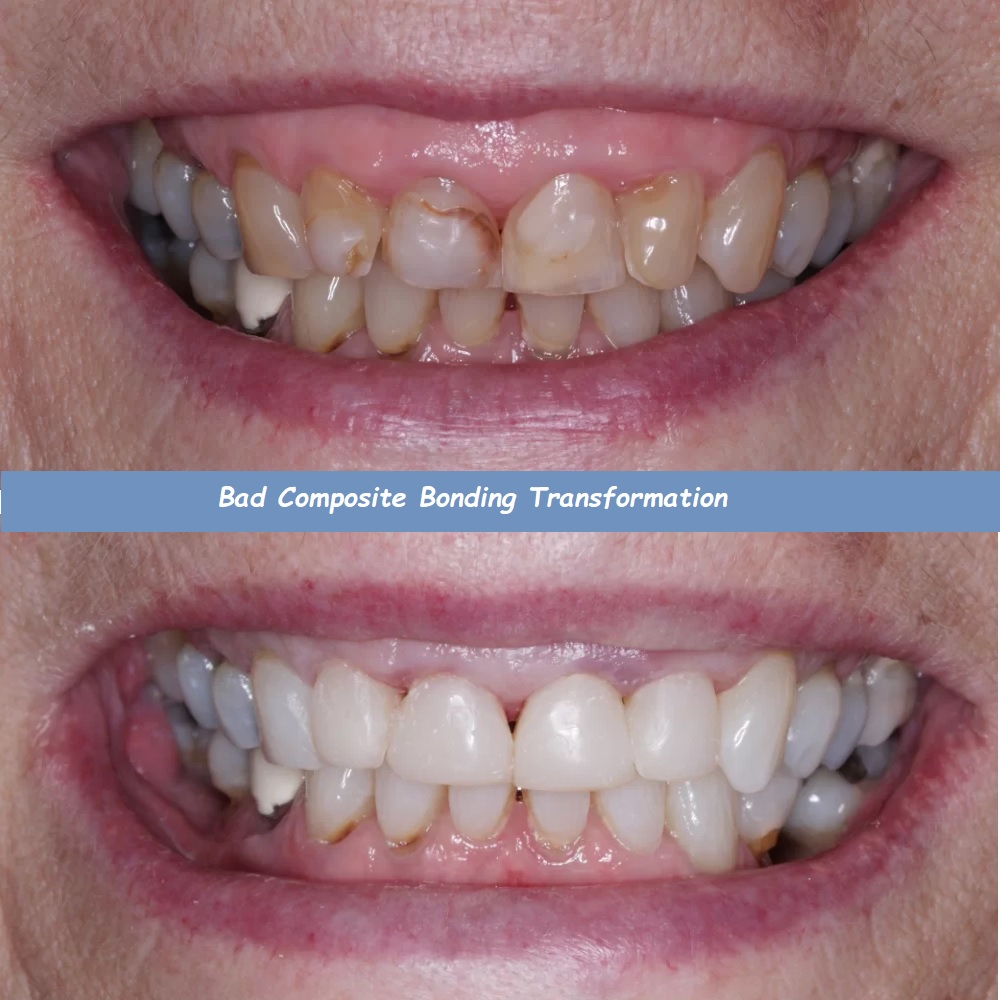
Cavities, chips, or cracks in your teeth can be both uncomfortable and unsightly, but modern dental treatments offer effective solutions. One of the most popular options for repairing damaged teeth is the composite filling. Composite fillings are tooth-colored restorations that blend seamlessly with your natural teeth, providing both aesthetic and functional benefits.
If you’re facing the prospect of getting a composite filling, you might be wondering what the procedure entails. Understanding each step of the process can help alleviate any concerns and ensure that you’re well-prepared for your dental appointment. In this comprehensive guide, we’ll walk you through the composite filling procedure step by step, so you know exactly what to expect.
What Is a Composite Filling?
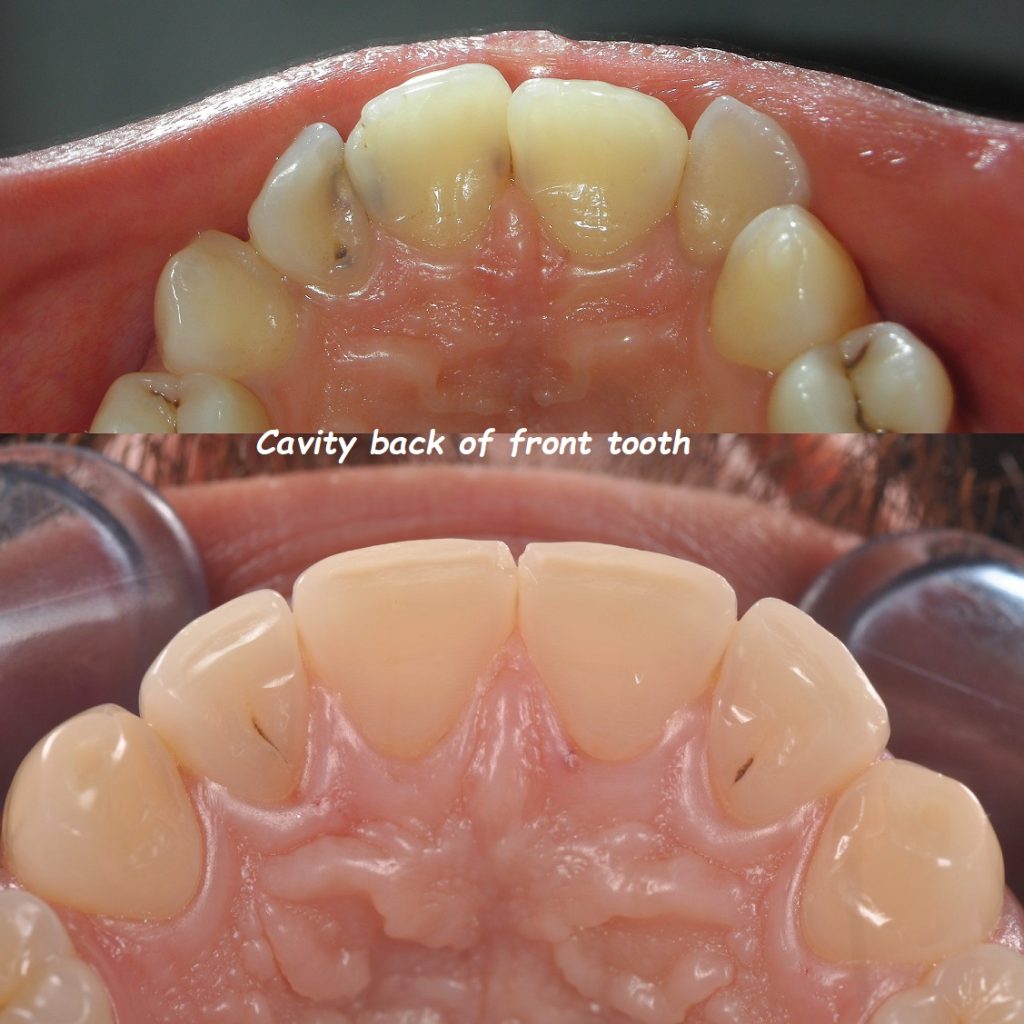
A composite filling is a dental restoration used to repair a tooth that has been damaged by decay, wear, or trauma. The filling is made from a tooth-colored resin material that is carefully shaped and bonded to the affected area, restoring the tooth’s function and appearance. Composite fillings are often preferred over traditional amalgam (silver) fillings because they offer a more natural-looking result and require less removal of healthy tooth structure.
Key Features of Composite Fillings:
- Aesthetic Appeal: Composite fillings can be matched to the color of your natural teeth, making them virtually invisible once applied.
- Durability: Modern composite materials are strong and durable, capable of withstanding the pressures of daily chewing.
- Conservation of Tooth Structure: Composite fillings bond directly to the tooth, allowing for a more conservative approach to cavity preparation.
- Versatility: Composite fillings can be used to repair cavities, cracks, chips, and worn teeth.
The Composite Filling Procedure: Step by Step
Getting a composite filling is a straightforward process that typically takes place in a single dental visit. Here’s a step-by-step breakdown of what you can expect during the procedure:
Step 1: Examination and Diagnosis
The first step in the composite filling procedure is a thorough examination of your teeth. Your dentist will assess the affected tooth to determine the extent of the damage and confirm that a composite filling is the appropriate treatment. This examination may include visual inspection, probing with dental instruments, and potentially dental X-rays to get a clear view of the tooth’s condition.
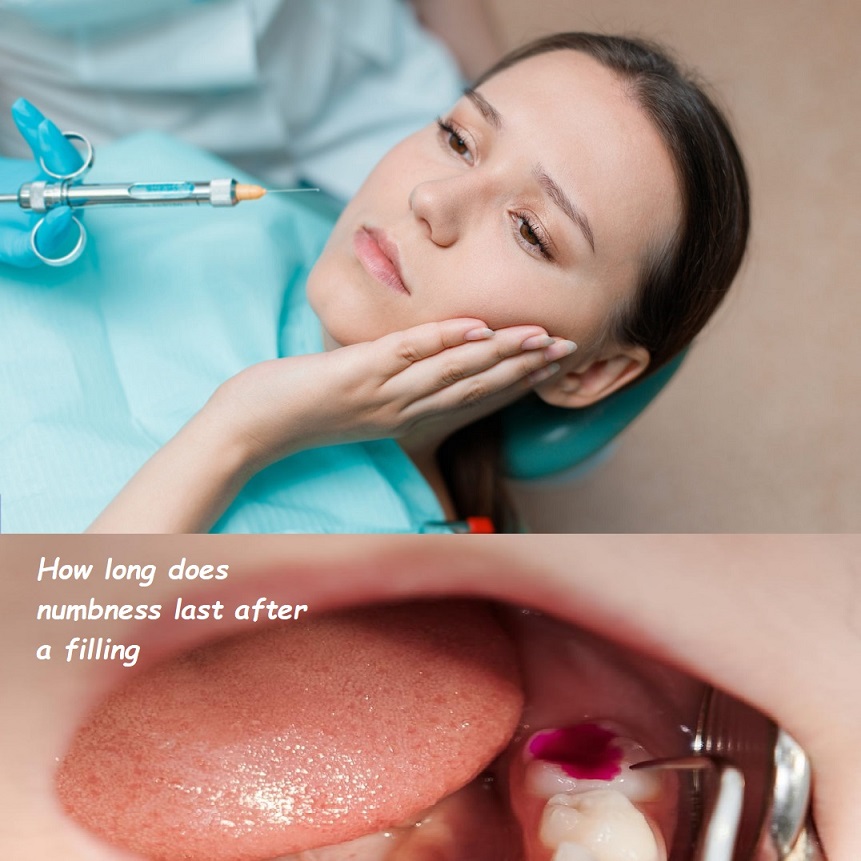
Step 2: Anesthesia
Once the diagnosis is complete, your dentist will administer a local anesthetic to numb the area around the affected tooth. This is an important step to ensure that you remain comfortable and pain-free throughout the procedure. The anesthetic is typically delivered via an injection into the gum tissue near the tooth that will be treated.
Step 3: Tooth Preparation
With the area numb, your dentist will begin preparing the tooth for the filling. This involves removing any decayed or damaged tooth material using a dental drill or laser. The goal is to eliminate all traces of decay while preserving as much healthy tooth structure as possible. Your dentist will also shape the cavity to create a clean and stable foundation for the composite filling.
Step 4: Isolation of the Tooth
To ensure that the composite material bonds properly to the tooth, it’s important to keep the area dry and free from saliva during the procedure. Your dentist may use a rubber dam, which is a small sheet of latex or a similar material, to isolate the tooth and prevent moisture from interfering with the bonding process. Alternatively, cotton rolls or suction devices may be used to keep the area dry.
Step 5: Etching the Tooth
After the tooth has been prepared, your dentist will apply a mild acidic solution, known as an etchant, to the surface of the tooth. The etching process creates microscopic roughness on the enamel and dentin, which helps the composite material bond more effectively to the tooth. The etchant is left on the tooth for a few seconds before being rinsed off with water.
Step 6: Application of the Bonding Agent
Once the tooth has been etched and dried, your dentist will apply a bonding agent to the prepared surface. This bonding agent acts as a glue, helping the composite material adhere securely to the tooth. The bonding agent is usually applied in a thin layer and may be cured (hardened) with a special curing light for a few seconds to ensure a strong bond.
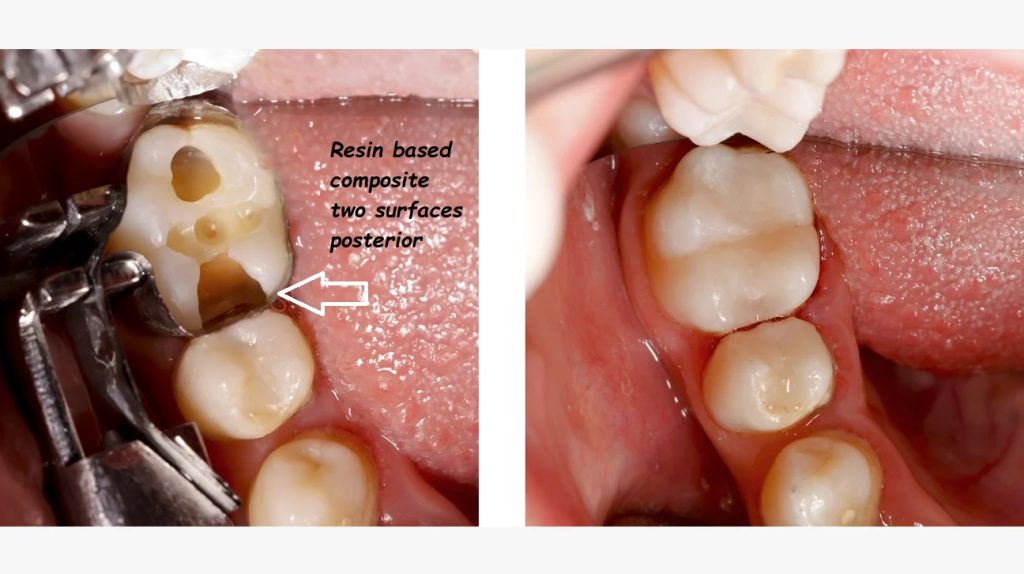
Step 7: Layering the Composite Material
With the bonding agent in place, your dentist will begin applying the composite filling material to the tooth. The composite resin is typically applied in layers, with each layer being carefully shaped and then cured with a special light. Layering the composite material helps to build up the filling to the desired shape while ensuring that it adheres firmly to the tooth. This step requires precision, as your dentist must carefully sculpt the composite to match the natural contours of your tooth.
Step 8: Shaping and Contouring
Once the composite material has been fully applied and cured, your dentist will use various dental instruments to shape and contour the filling. This step involves refining the shape of the filling to ensure that it blends seamlessly with the surrounding tooth structure. Your dentist will also check the bite (occlusion) to ensure that the filled tooth aligns properly with the opposing teeth, making any necessary adjustments to prevent uneven wear or discomfort when chewing.
Step 9: Polishing the Filling
The final step in the composite filling procedure is polishing the restoration. Your dentist will use a series of polishing tools and pastes to smooth the surface of the composite filling, giving it a natural sheen that matches the appearance of your natural teeth. Polishing not only enhances the aesthetics of the filling but also helps prevent staining and plaque buildup.
Step 10: Final Evaluation
After the filling has been polished, your dentist will conduct a final evaluation to ensure that the restoration is secure, comfortable, and aesthetically pleasing. They will check your bite once more to confirm that the filling does not interfere with your normal chewing function. Once everything looks and feels right, the procedure is complete, and you can enjoy the benefits of your restored tooth.
Caring for Your Composite Filling
After receiving a composite filling, it’s important to take good care of your teeth to ensure the longevity of the restoration and maintain your overall oral health. Here are some tips for caring for your composite filling:
1. Practice Good Oral Hygiene:
Brush your teeth at least twice a day and floss daily to keep your teeth and gums healthy. Pay special attention to the area around the filling to prevent plaque buildup and decay. Use a non-abrasive toothpaste to avoid scratching the surface of the composite material.
2. Avoid Hard or Sticky Foods:
While composite fillings are durable, they can still be damaged by excessive force or chewing on very hard or sticky foods. Be mindful of what you eat, and avoid habits like chewing ice or biting on hard objects, which can put unnecessary stress on the filling.
3. Regular Dental Check-Ups:
Visit your dentist regularly for check-ups and cleanings. During these visits, your dentist will monitor the condition of your composite filling and ensure that it remains in good shape. Regular check-ups also allow your dentist to catch any potential issues early, before they become more serious.
4. Address Grinding or Clenching:
If you have a habit of grinding or clenching your teeth, known as bruxism, talk to your dentist about getting a night guard. Grinding and clenching can wear down or damage composite fillings, so protecting your teeth with a night guard is essential.
5. Avoid Staining Foods and Drinks:
Although composite fillings are resistant to staining, they are not entirely stain-proof. To keep your filling looking its best, try to limit your intake of staining foods and drinks, such as coffee, tea, red wine, and tobacco. If you do consume these items, rinse your mouth with water afterward to minimize the risk of staining.
Real-Life Experiences: Success with Composite Fillings
Hearing about others’ experiences with composite fillings can provide valuable insights and reassurance. Here are a couple of real-life scenarios where people successfully benefited from composite fillings:
Scenario 1: Emily’s Cavity Repair Success
Emily noticed a small cavity forming in one of her molars and decided to visit her dentist before the problem worsened. After a thorough examination, her dentist recommended a composite filling. The procedure was quick and painless, and the filling perfectly matched the color of her natural tooth. Emily was relieved to find that the filling blended seamlessly with her smile and was comfortable to chew with. The restoration not only repaired the cavity but also restored the tooth’s natural appearance.
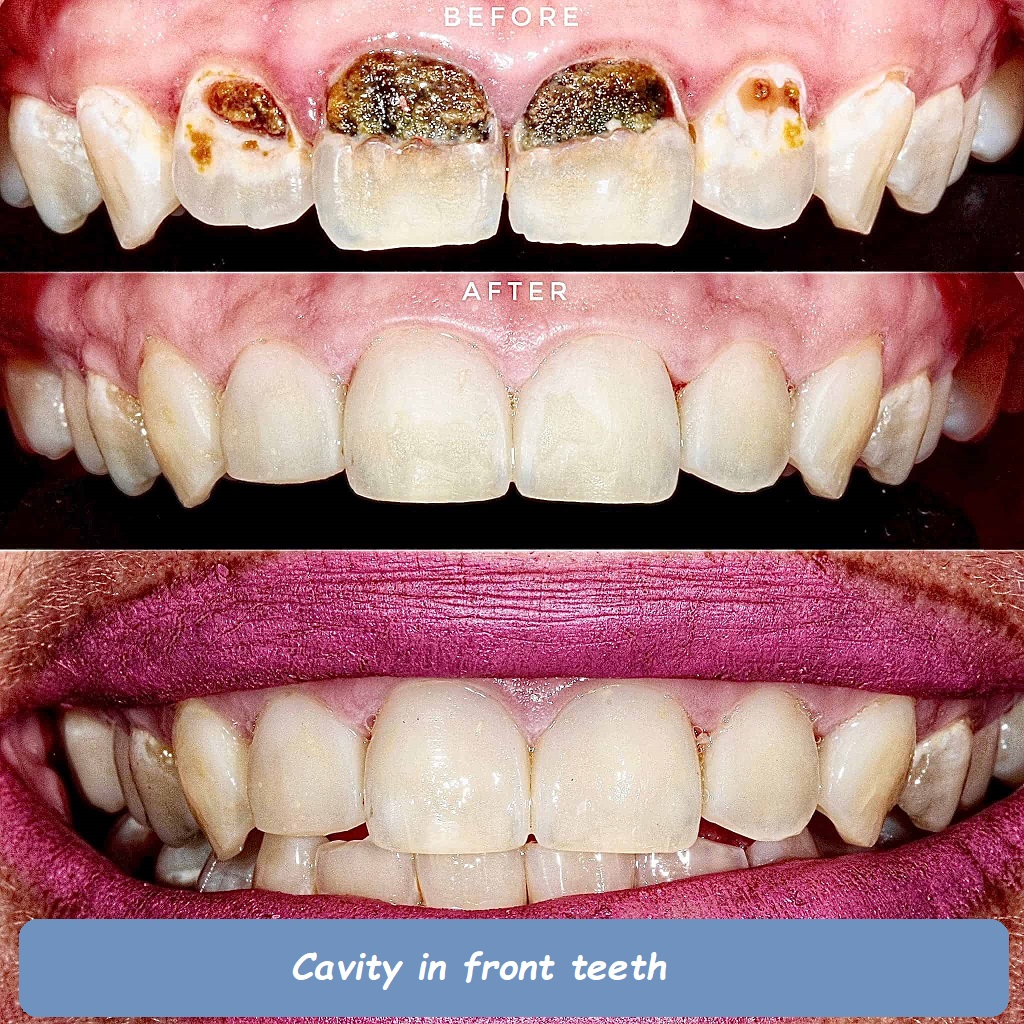
Scenario 2: John’s Chipped Tooth Restoration
John chipped one of his front teeth while playing sports and was concerned about how it would affect his smile. His dentist recommended a composite filling to restore the tooth’s appearance. The dentist carefully shaped the composite material to match the natural contours of John’s tooth, and the result was flawless. John was impressed by how natural the tooth looked after the procedure and appreciated that the composite material was durable enough to withstand daily use.
Common Questions About Composite Fillings
1. How long do composite fillings last?
With proper care, composite fillings can last anywhere from 5 to 10 years or longer. Their longevity depends on factors such as the location of the filling, your oral hygiene habits, and whether you grind or clench your teeth.
2. Are composite fillings safe?
Yes, composite fillings are safe and biocompatible, meaning they are well-tolerated by the body. They do not contain mercury, which is a concern with some other types of fillings.
3. Can I eat immediately after getting a composite filling?
After getting a composite filling, it’s best to wait until the anesthetic has worn off before eating to avoid accidentally biting your cheek or tongue. Once the numbness has subsided, you can eat normally, but it’s a good idea to start with softer foods to avoid putting too much pressure on the new filling.
4. Are composite fillings covered by insurance?
Many dental insurance plans cover composite fillings, especially for teeth that are visible when you smile. However, coverage can vary, so it’s important to check with your insurance provider to understand your specific benefits.
5. Can composite fillings be replaced?
Yes, if a composite filling becomes worn, damaged, or stained, it can be replaced. Your dentist will remove the old filling and place a new one to restore the tooth’s function and appearance.
Conclusion: Understanding the Composite Filling Procedure
Getting a composite filling is a common and effective way to restore a tooth that has been damaged by decay, wear, or trauma. By understanding each step of the composite filling procedure, you can feel more confident and prepared for your dental appointment. With the right care and maintenance, composite fillings can provide a durable and aesthetically pleasing solution to keep your smile healthy and beautiful.
Your Next Steps:
If you suspect you have a cavity or have noticed damage to one of your teeth, don’t hesitate to schedule an appointment with your dentist. They can evaluate your condition, recommend the best treatment, and guide you through the composite filling procedure to restore your tooth and maintain your oral health.
Got More Questions? We’re Here to Help!
If you have more questions about composite fillings or need further guidance on your dental options, don’t hesitate to reach out. We’re here to support you every step of the way on your journey to a healthier, more beautiful smile!